Document Linking
The Document Linking and Unlinking functionality allows authorized internal users to establish logical relationships between documents within a case, ensuring that related filings are grouped together for easier management, traceability, and consistency.
This feature helps divisions like Records, OGC, Legal, Hearing Examiners, and Commissioners organize multiple documents submitted as part of the same filing, amendment, or correspondence.
Linked documents form a parent–child relationship—where the parent serves as the main document, and the child documents are associated supplements or attachments.
Unlinking functionality allows users to safely separate documents when they no longer need to remain grouped, while maintaining audit integrity and ID history.
Purpose of Linking and Unlinking
- Maintain clear traceability between related filings (e.g., amendments, supporting exhibits).
- Enable bulk filing actions such as public release or record stamping across linked groups.
- Ensure role-based control and prevent unauthorized modifications to document relationships.
- Keep a consistent Document ID hierarchy for easier reference in the system.
User Roles with Access
| Division / Role | Functionality Access | Description |
|---|---|---|
| Records Staff | Link, Unlink, File, Modify Split Groups | Full control over document management across all statuses (Private, Internal, Public). Can file, relink, or unlink documents across tabs and manage split groups. |
| Records Supervisor | Link, Unlink, File, Modify Split Groups | Same permissions as Records Staff with supervisory authority to review and approve group actions. |
| OGC Supervisor / Staff / Paralegal | Link / Unlink (Private & Internal only), File Linked Documents | Can group documents internally for case preparation and file linked document groups directly (“File Now”). Cannot manage split groups that include Public documents. |
| Hearing Examiner Law Clerk | Link / Unlink (Private & Internal only), File Linked Documents | Can link related filings and file linked document groups for hearings. Cannot manage Public or split document groups. |
| Commissioner Staff / Supervisor | Link / Unlink (Private & Internal only), File Linked Documents | Can manage Commissioner-related filings or supporting documents and file them publicly when needed. |
| Legal Staff / Supervisor | Request Public Filing only | Cannot directly file or link documents. May request Records Division to publicly file linked document groups. |
| Records / OGC / HE / Commissioner Divisions | File Linked Documents | Authorized to directly file complete linked document groups to make them Public. Partial filing is not permitted. |
| All Other Users | View Linked Groups only | Can view linked structure (via “Linked Documents” column and “View Link” option) but cannot modify or unlink any group. |
Conditions for Linking
The user must either be:
- Assigned to the case, or
- Hold a role with document management permissions (as listed above).
Additional conditions:
- Documents must have the same status (Private ↔ Private, Internal ↔ Internal, Public ↔ Public).
- A document can belong to only one linked group.
- Once linked, only authorized roles can unlink or modify the group.
Steps to Link a Document in a Case
- From the All Active Cases section, select the required case by clicking on the corresponding Docket Number to open the Case 360 View.
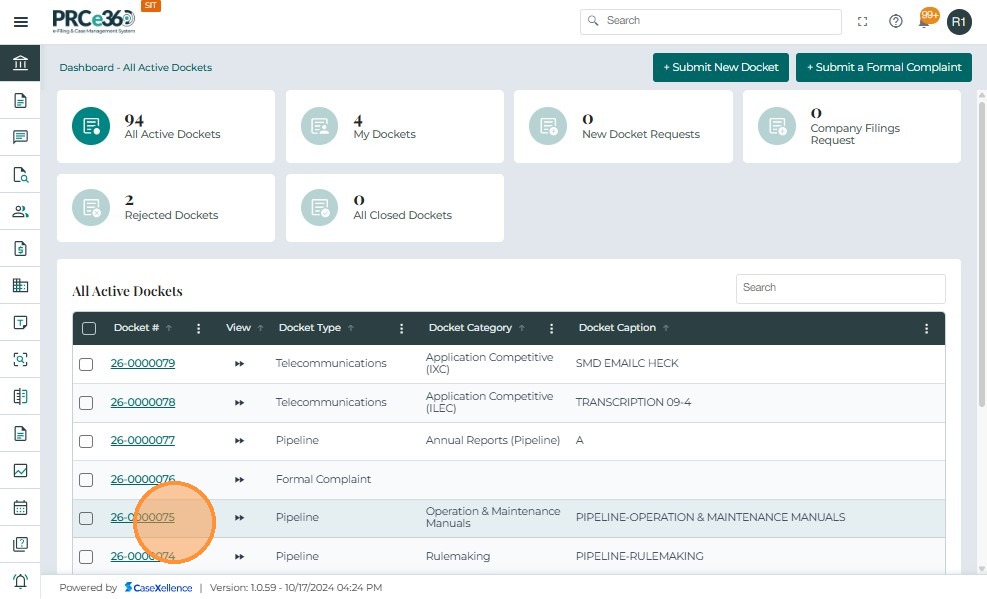
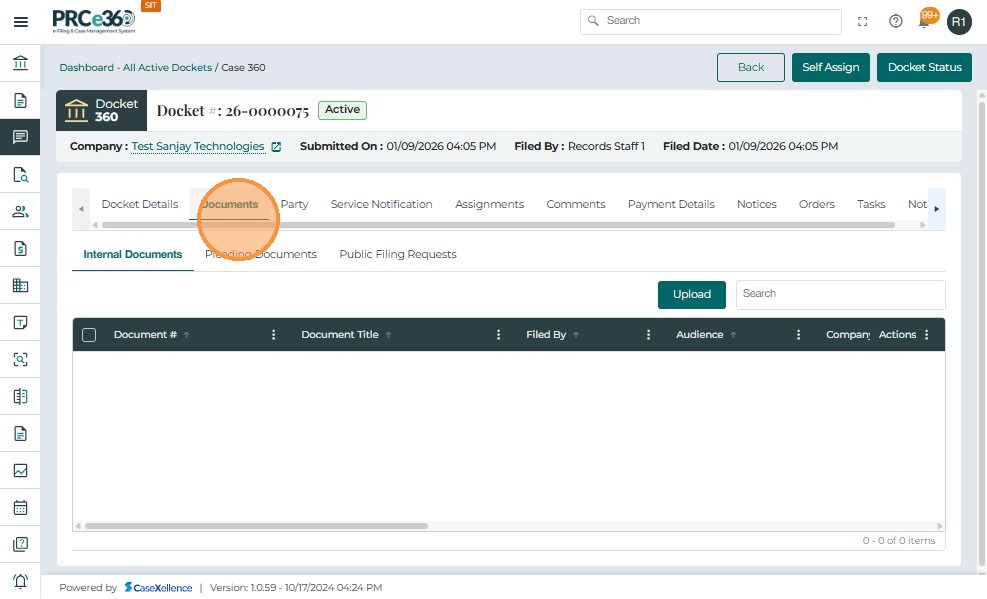
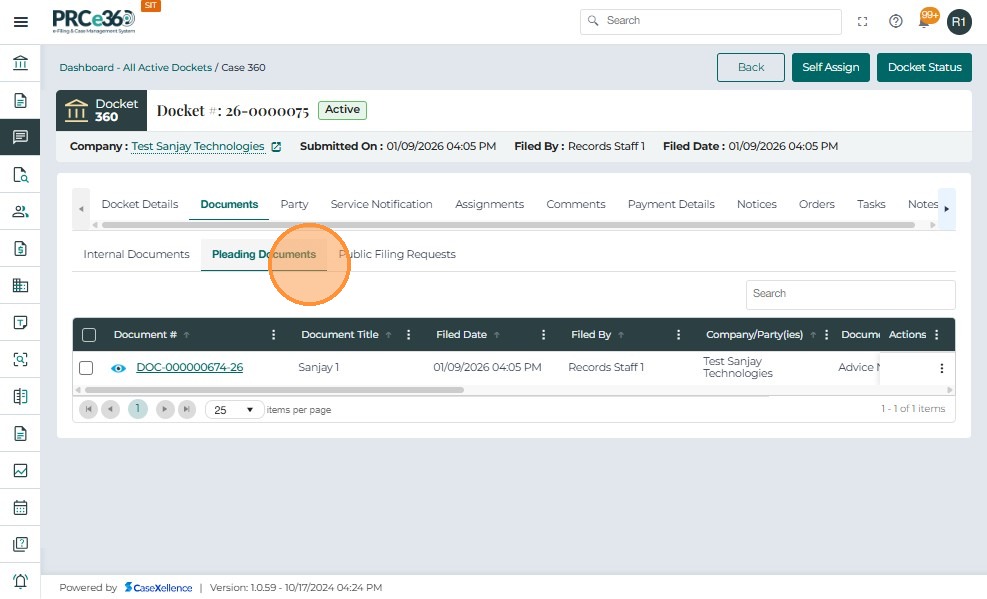
- Within the Case 360 view, navigate to the Documents tab and open either the Internal Documents or Pleading Documents section as applicable.
Note:
- Documents can only be linked within the same category.
- Pleading Documents can be linked only with other pleading documents.
- Internal Documents can be linked only within the internal section.
- Linking between Internal and Pleading documents is not permitted.
The example below shows a document being made Internal before linking.
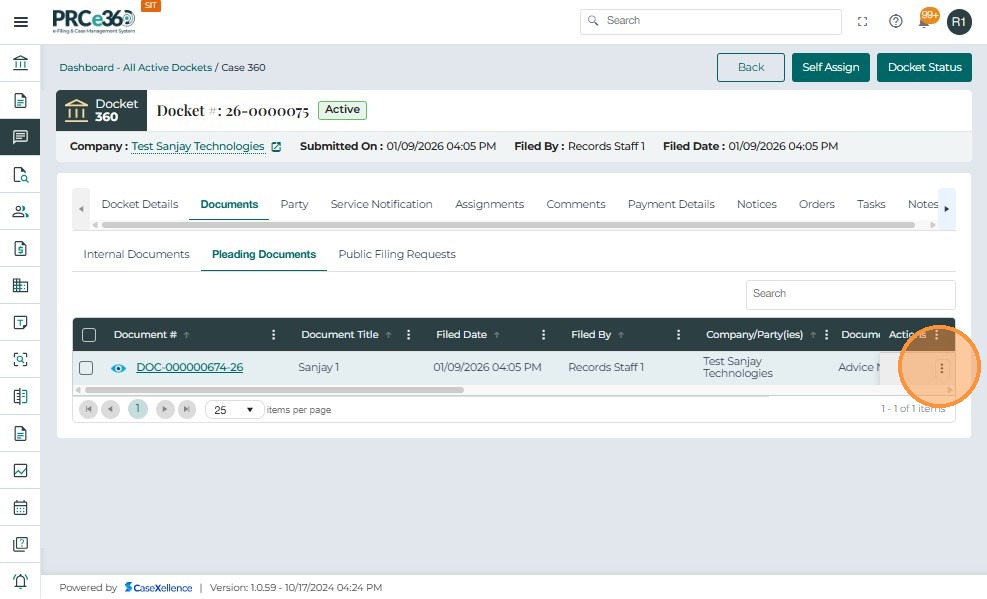
Making a Pleading Document Internal
- From the Actions (⋮) menu beside the pleading document, select Make Internal.

-
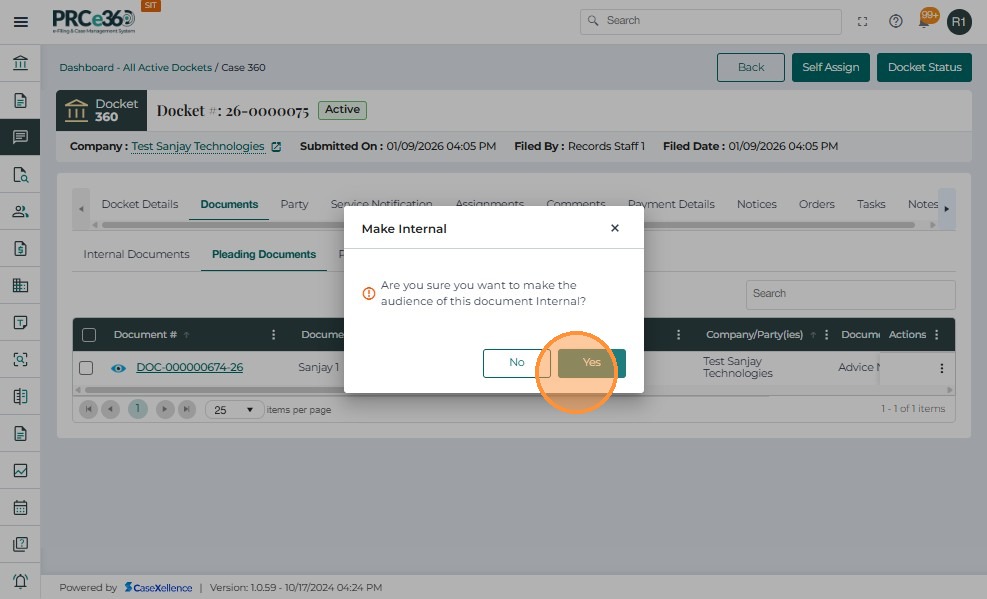
After selecting Make Internal from the Actions menu, a confirmation prompt appears asking:
“Are you sure you want to make the audience of this document Internal?” -
Click Yes to confirm.
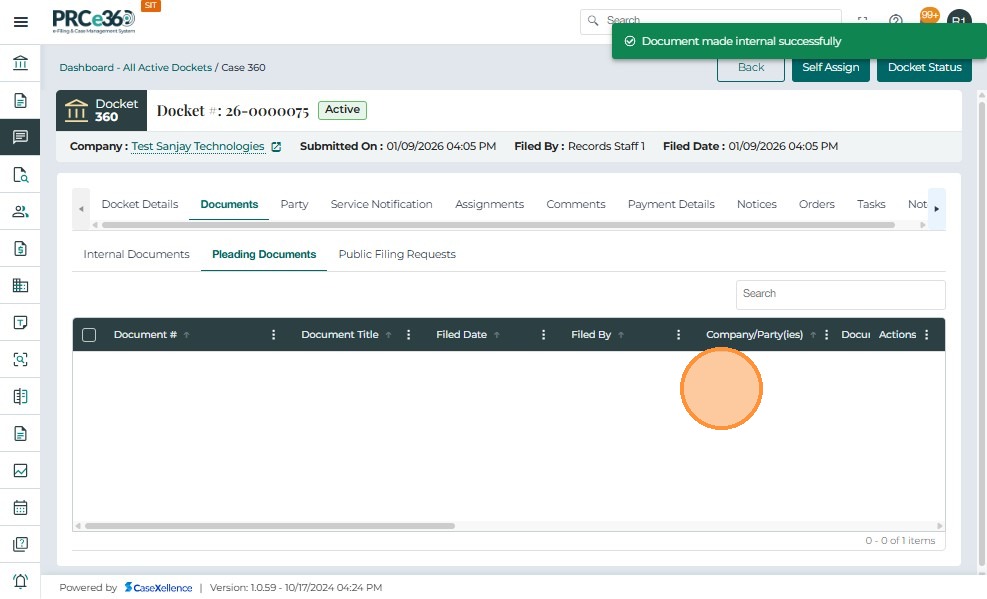
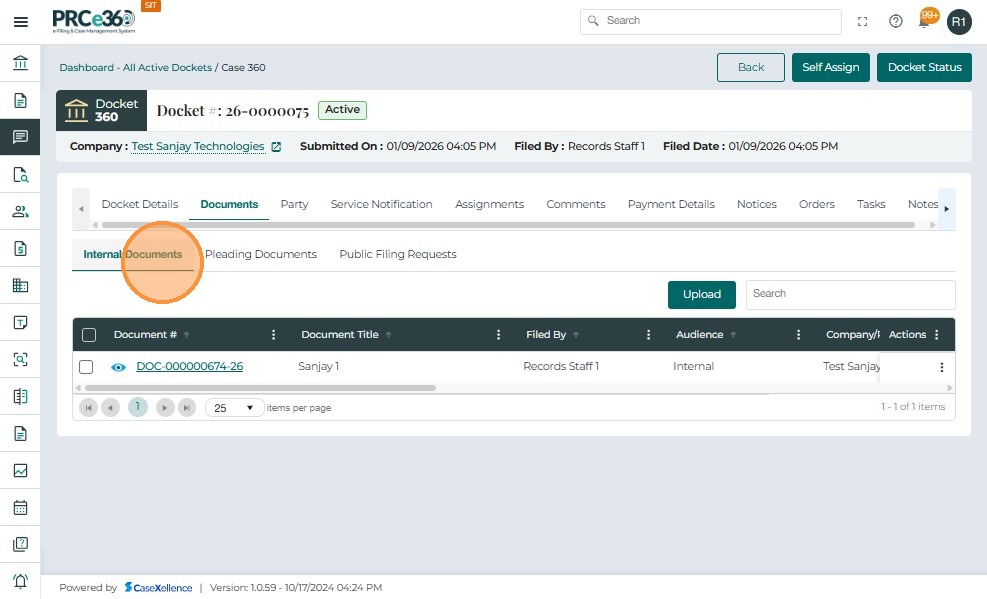
- After confirming the change, navigate to the Internal Documents tab to verify that the document now appears under this section.
- The Audience column will display Internal, confirming that the document’s visibility and access level have been updated successfully.
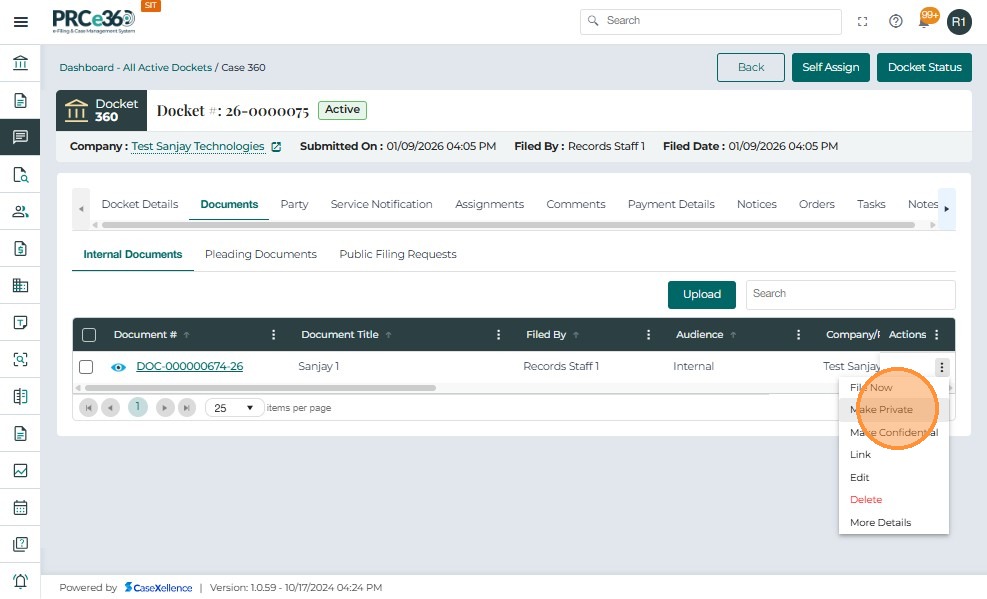
- Before linking documents, ensure that all the documents to be linked have the same access status — either Private or Internal.
- From the Actions (⋮) menu next to the document, select Make Private or Make Internal, depending on the required status for linking.
Note:
- Any document uploaded directly through the Upload button under the Internal Documents tab is automatically set to Private by default.
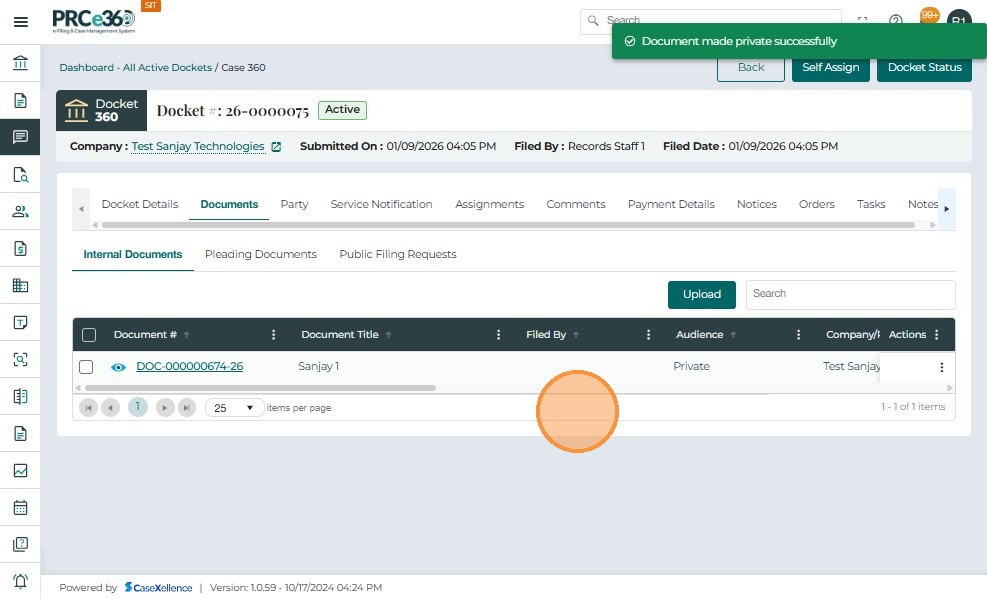
- Click Yes to confirm and proceed. Once confirmed, the document’s access level will be updated to Private.
- Documents marked as Private will only be accessible to authorized internal users.

Steps for Document Linking
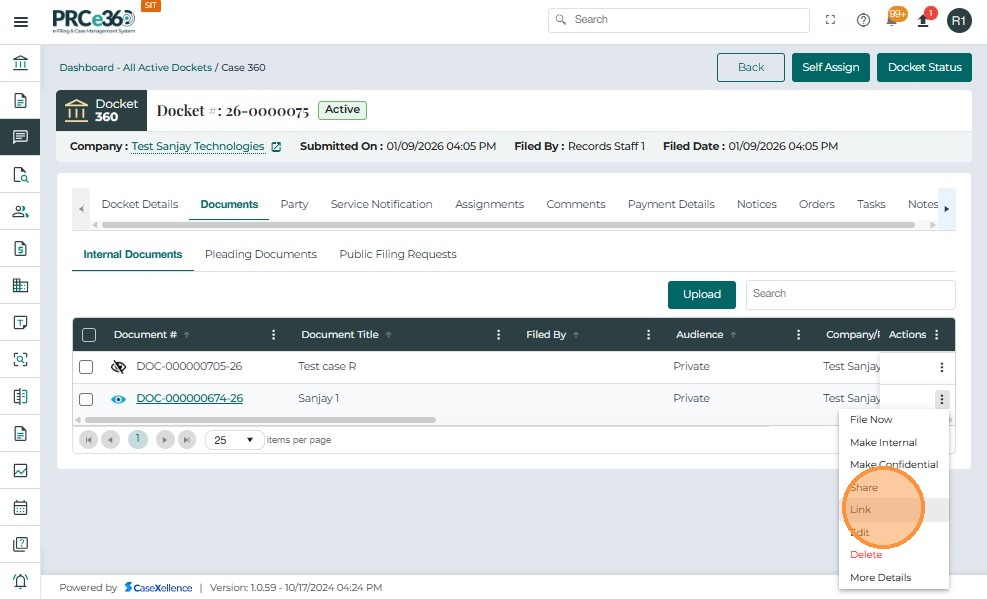
- Once both documents have the same access level (either Private or Internal), you can proceed with linking them.
- From the Actions (⋮) menu beside the document you wish to make the parent document, click Link.
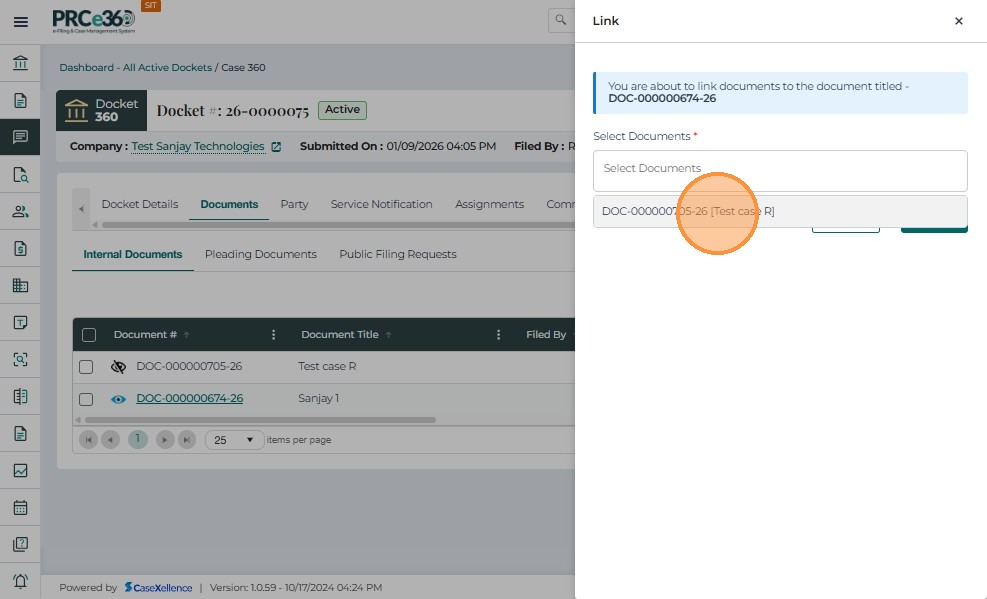
- After clicking Link, a pop-up window appears confirming that you are about to link other documents to this parent document.
- In the Select Documents field, choose one or more documents that should be linked as Child Documents. The selected documents will appear in the list below the field.

- After selecting the child document(s) to be linked with the parent document, click the Submit button to finalize the linking process.
- Once submitted, the system establishes the relationship between the Parent and Child documents.
- The Parent Document retains its original Document ID.
- The Child Documents are assigned linked IDs following the format:
DOC-000000014-25-A1,DOC-000000014-25-A2, etc.
- Click Submit to add the child document.
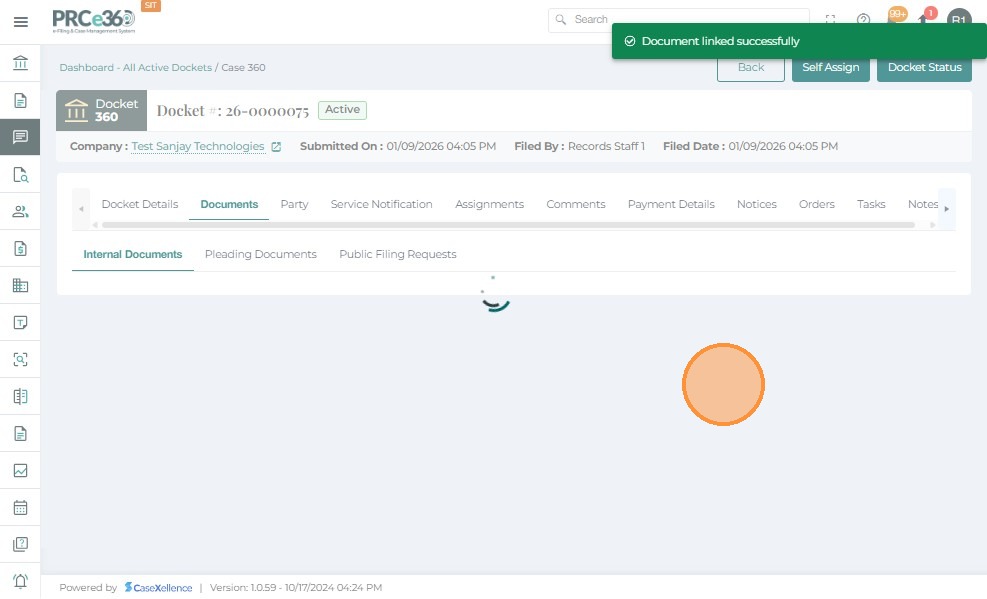
- Once the linking process is completed, the system displays a confirmation message at the top of the screen.
- The parent and child documents are now connected as a group.
- The group relationship will remain intact unless manually unlinked by an authorized user.
- All linked documents will maintain consistent visibility (Private or Internal) based on their access level.
- Each document retains its own metadata but shares a collective relationship within the case file.
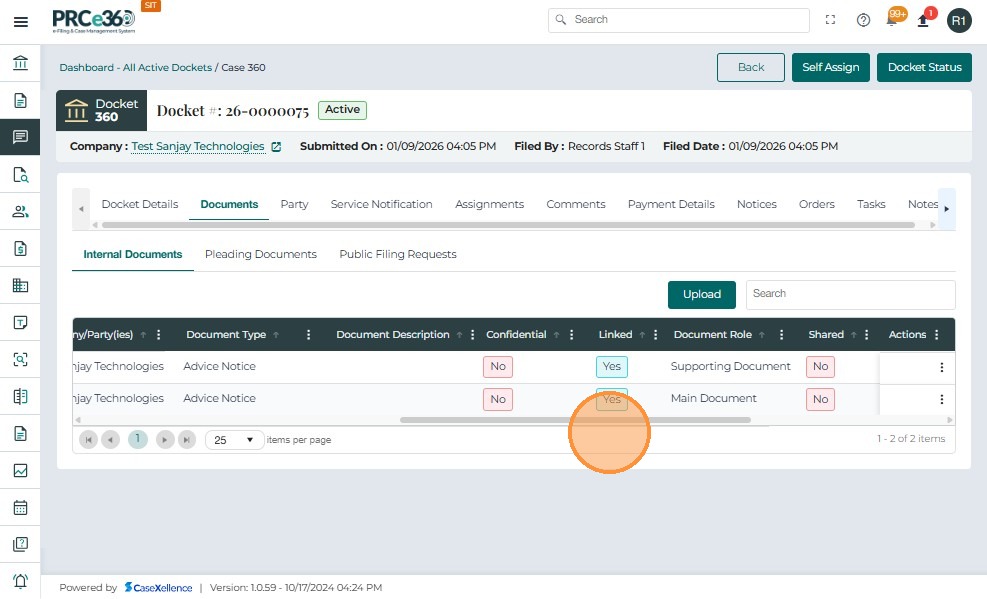
- After the successful linking process, the linked documents are displayed in the Internal Documents tab.
- The Linked column in the document grid now shows a value of “Yes” for both the parent and the child documents, indicating that they are part of a linked group.
- The linked relationship is visible to all users who have permission to view the documents.
- If a user later unlinks one or more documents, the Linked status will revert to “No” for those items.

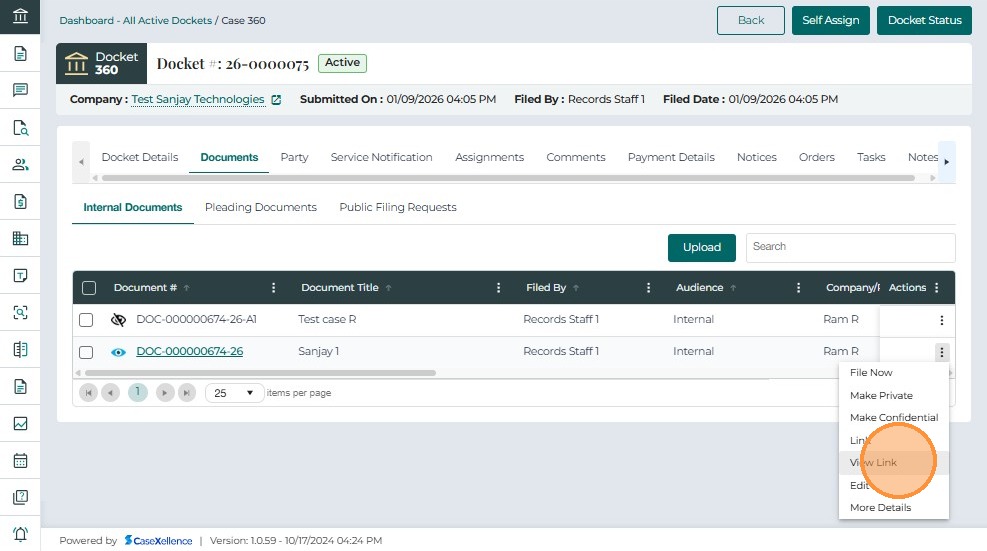
- Once documents have been linked, users can view the relationship between the Parent and Child documents using the View Link option available under the Actions (⋮) menu.
- Click on the Actions (⋮) menu beside the document.
- Select View Link from the dropdown menu.
-
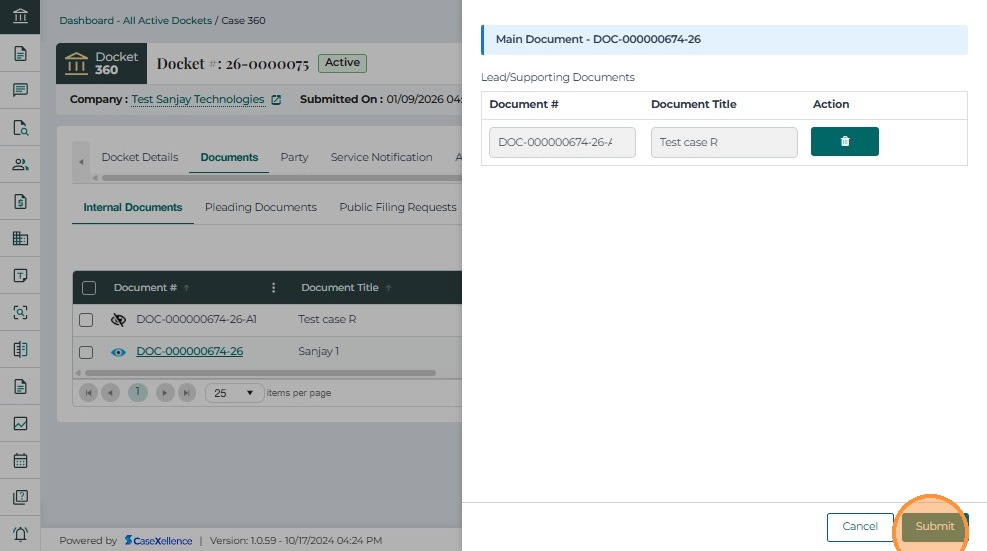
After selecting View Link, a window appears displaying the Parent Document details along with all associated Child Documents.
-
Each child document appears in a structured table with the following columns:
- Document # – Shows the generated linked ID for the child document.
- Document Title – Displays the title of the child document.
- Action – Provides the option to Unlink the child document from the group by clicking the delete icon.
-
If the user clicks the delete icon and confirms the action, the selected child document will be unlinked from the group, and its Linked status will revert to “No”.
-
Once done, click Submit to save the changes.
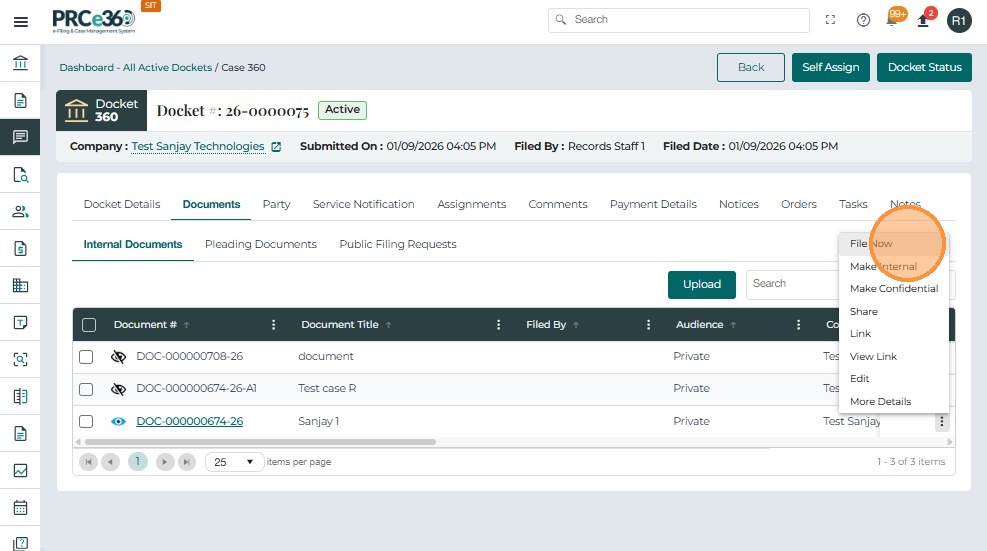
- The File Now option allows authorized users (such as Records Staff or Records Supervisor) to move internal case documents into the Public filing stage.
- The File Now option is only available for documents in the Internal Documents tab.
- It is visible only on the Parent Document within a linked group — not on any child documents.
- Click on the Actions (⋮) menu beside the document.
- Select File Now from the dropdown menu.
-
This process is used to file a parent document that is part of a linked group. When the parent is filed, all linked child documents are automatically included in the filing.
-
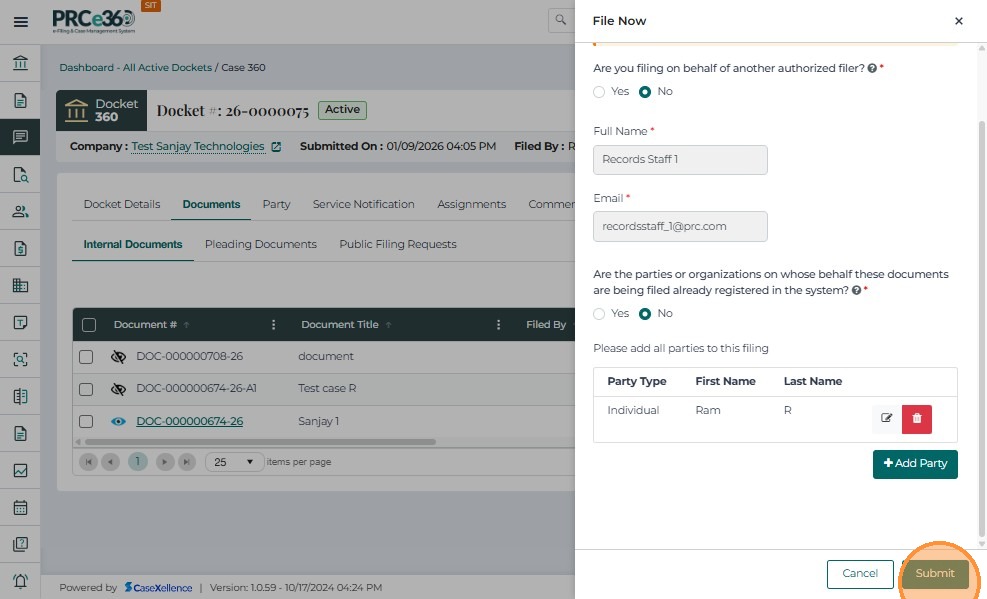
A filing form opens where the user must enter brief filing information such as:
- Filer details (name and email)
- Company name (if applicable)
- Option to add any other parties not already listed in the system
These details identify who is submitting the filing and on whose behalf.
-
If there are new parties not listed in the system, select Yes and click + Add Party.
-
Choose whether the party is an Individual or Company, fill in the details, and click Save.
-
Choose Company from the dropdown and click Save.
-
To know the detailed steps on how to file a document, see Document Filing Request.
-
Once all details are provided, click Submit to proceed.
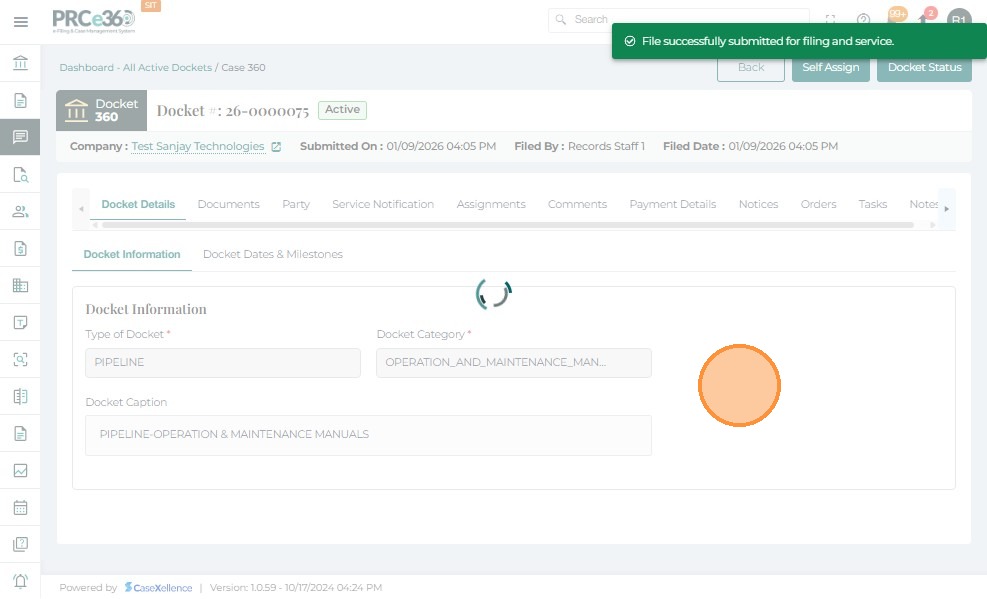
- The File Now operation automatically updates the status of the parent and all child documents in the group to Public.
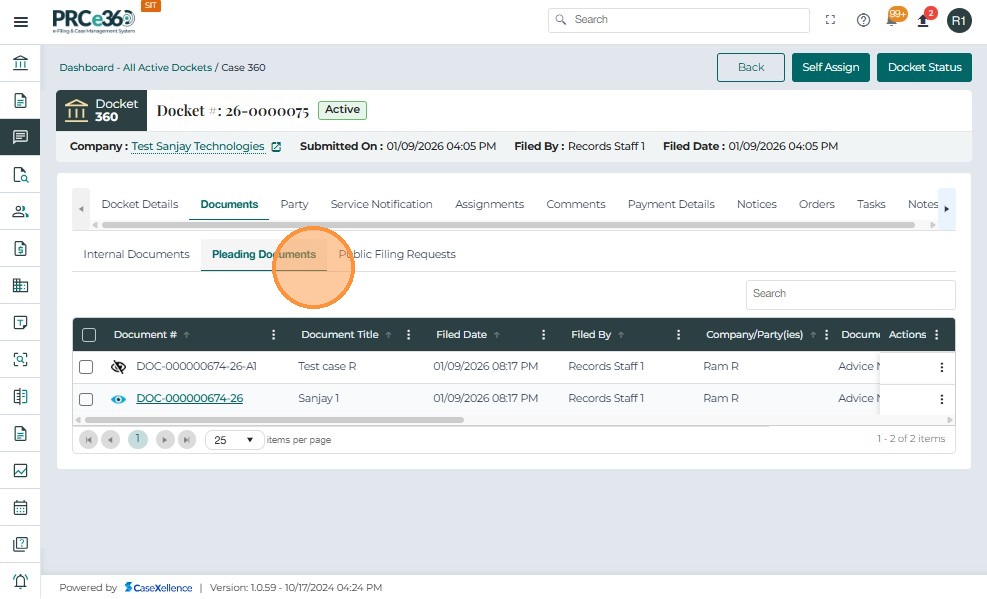
- All linked documents are then moved to the Pleading Documents tab.
- After successfully filing the parent document, all documents linked to that group — including its child documents — are automatically filed together.
- The Internal Documents section will no longer display the filed items, as they are now categorized under Public status in the Pleadings view.
- Once the filing is complete, these documents are moved from the Internal Documents tab to the Pleading Documents tab.
Internal users with the required permissions can mark uploaded internal documents as Confidential directly from the Documents tab of a docket.
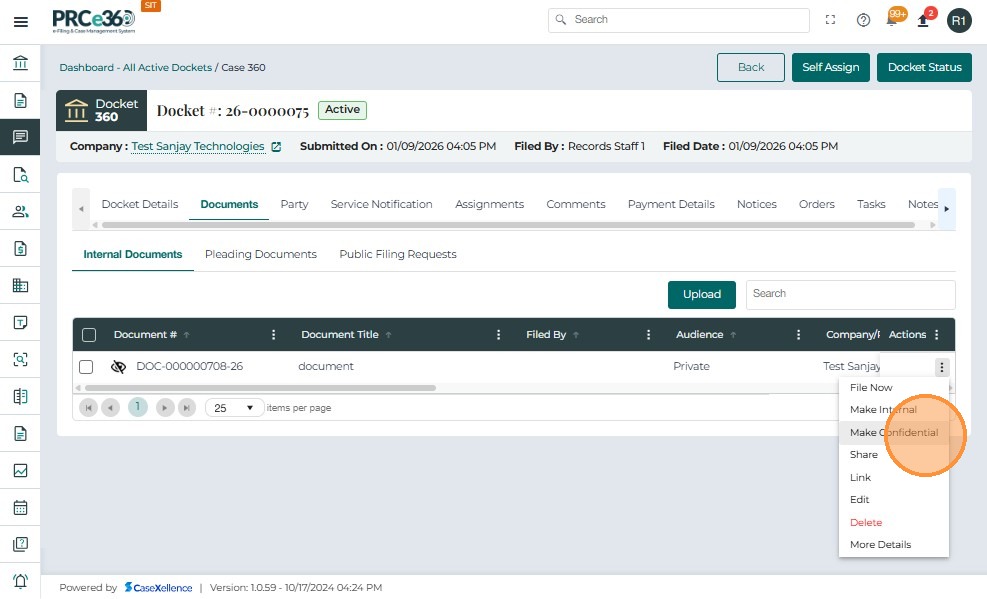
- Each document row includes an Actions menu on the right side.
- Click the icon to view available actions.
- From the Actions dropdown, select: Make Confidential
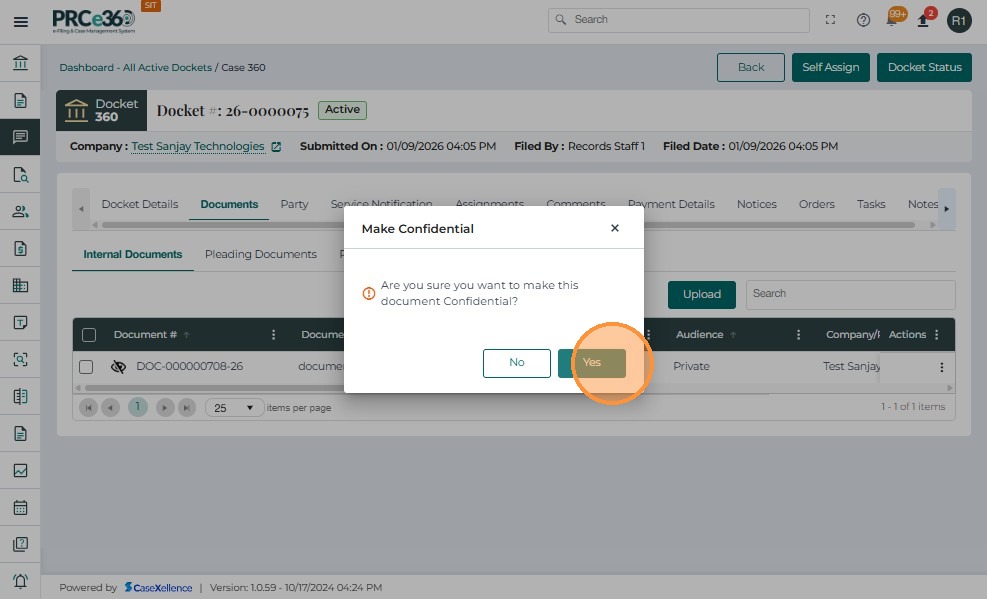
A confirmation window appears:“Are you sure you want to make this document Confidential?”
The user must choose: Yes – to proceed, or No – to cancel the operation.
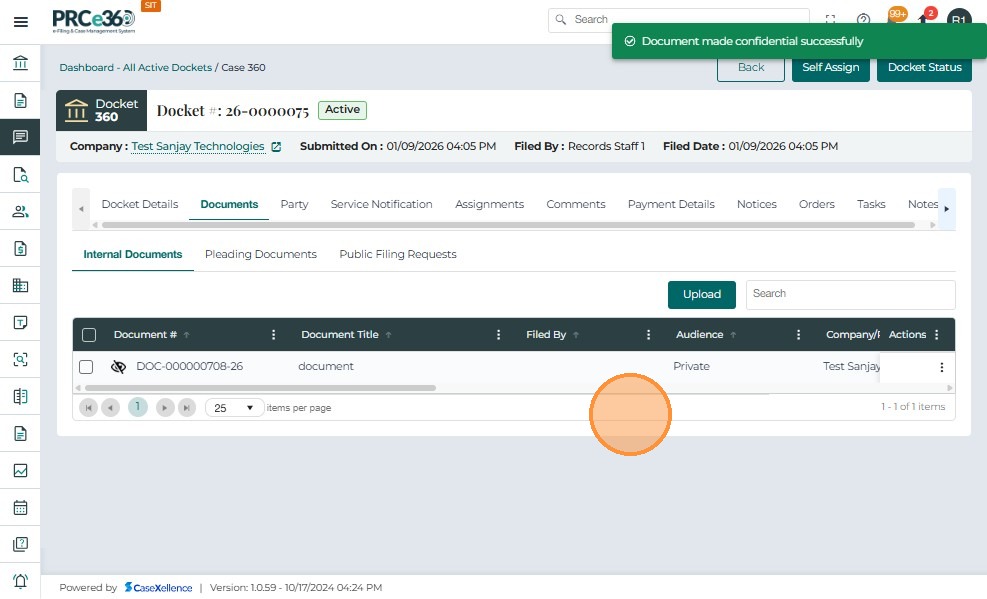
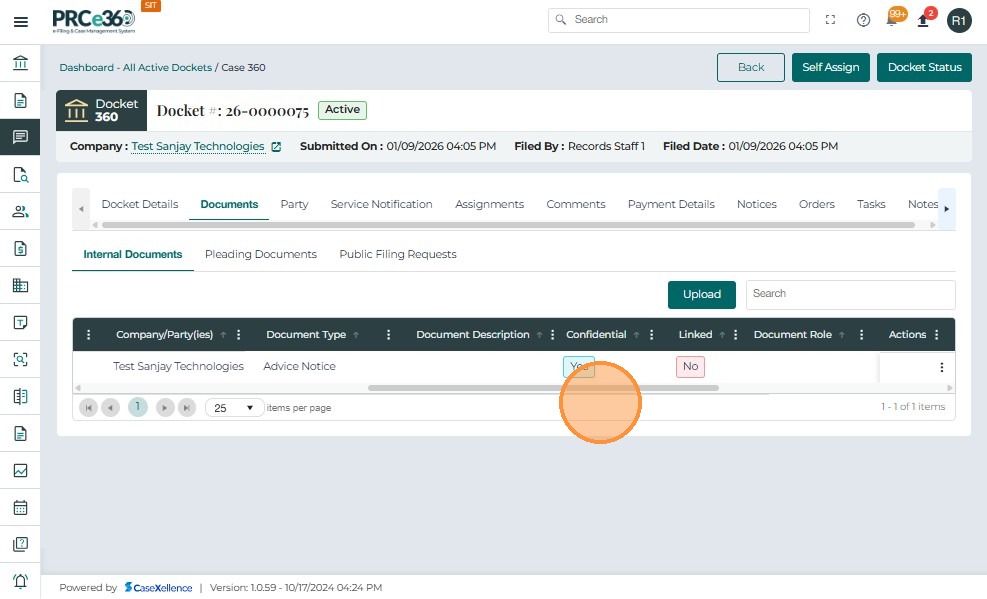
- After clicking Yes: The document’s Confidential column changes from No → Yes.
- A success message appears:“Document made confidential successfully.”
- The document is now treated as a confidential record and hidden from public-facing views.
The Check Out option allows authorized internal users to temporarily take ownership of an internal document for review, editing, or internal processing. Checked-out documents show exactly which user currently holds the document, preventing simultaneous edits or conflicting updates.
- Each document row contains an Actions menu at the far right.
- Click the icon to view available actions.

- Select Check Out from the menu.
- This option is available only for documents that are not already checked out.

- Once Check Out is selected:A confirmation popup appears:“Are you sure you want to check out this document?”
- The user may choose: Yes – to proceed or No – to cancel

- After clicking Yes:A success message appears:“Document Checked Out successfully.”
- The Storage Checkout column changes from No → Yes.
- The Storage Checked Out By column updates to show the current user’s name .
- The document is now locked for that user, preventing conflicting changes.

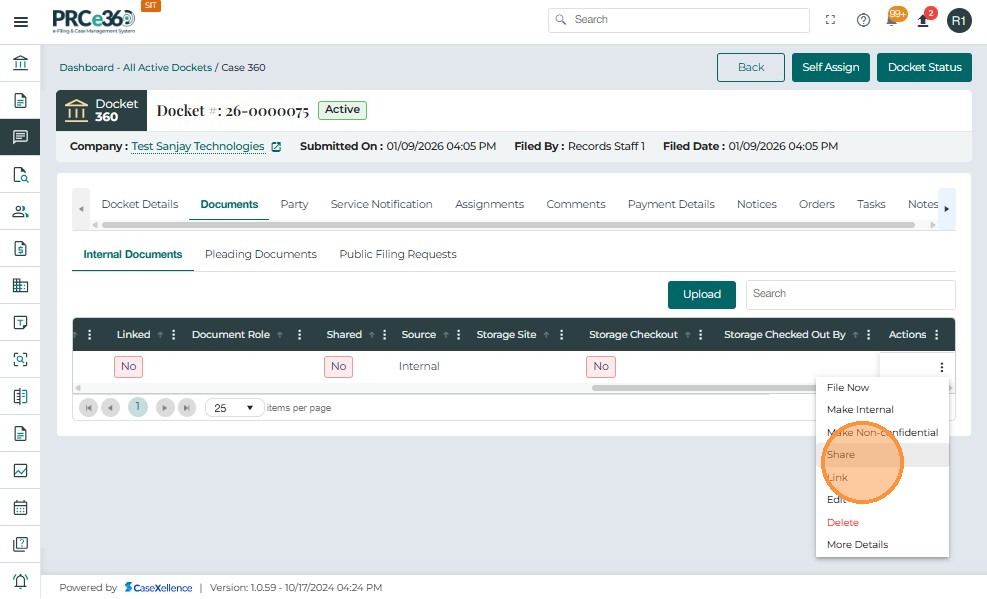
The Share Functionality allows the user to share the document to a particular user or a particular division.
- Click the Actions (⋮) menu against the document.
- Select Share from the dropdown list.
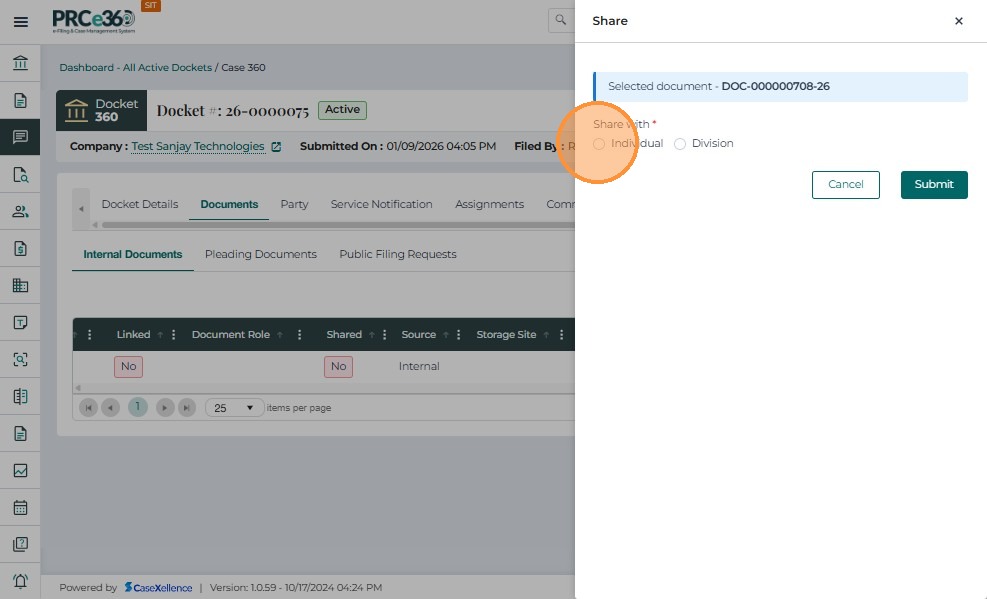
- In the Share pop-up window, under Share with, select Individual.
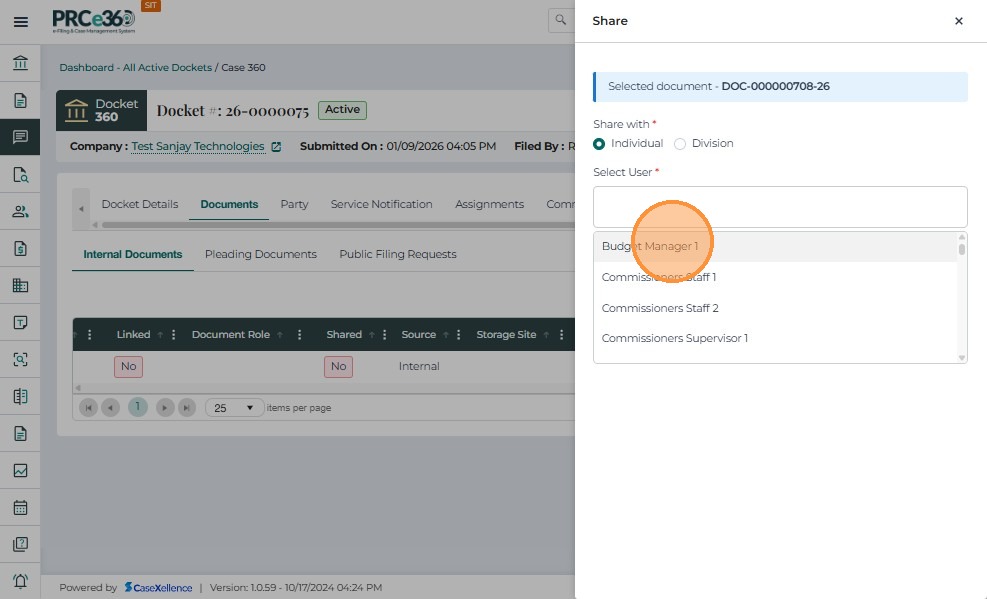
- Click on Select User field.
- Choose the required user from the dropdown list.
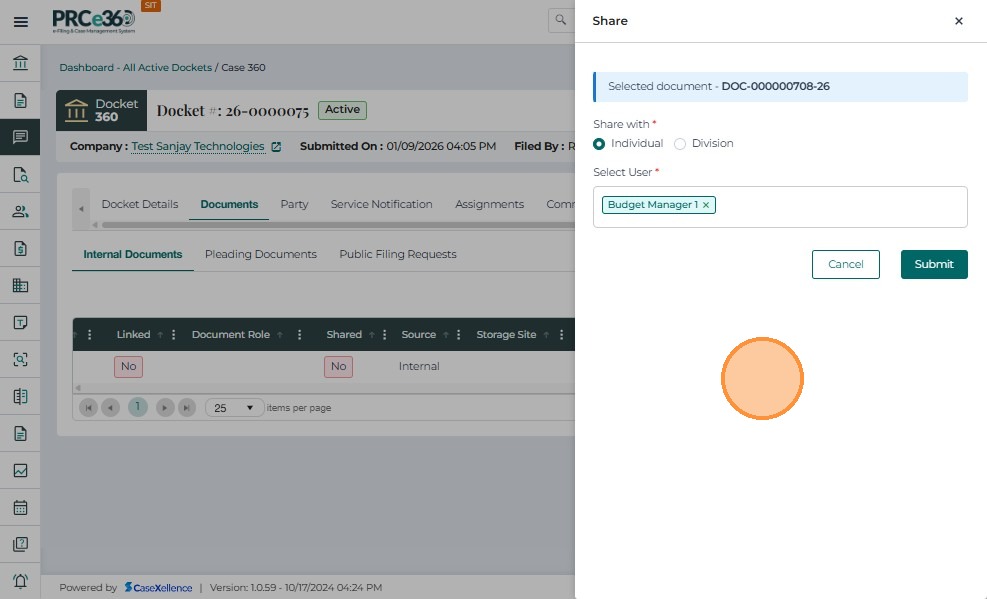
- Verify the selected user appears in the field.
- Click Submit to share the document.
- In the Share pop-up window, under Share with, select Division.
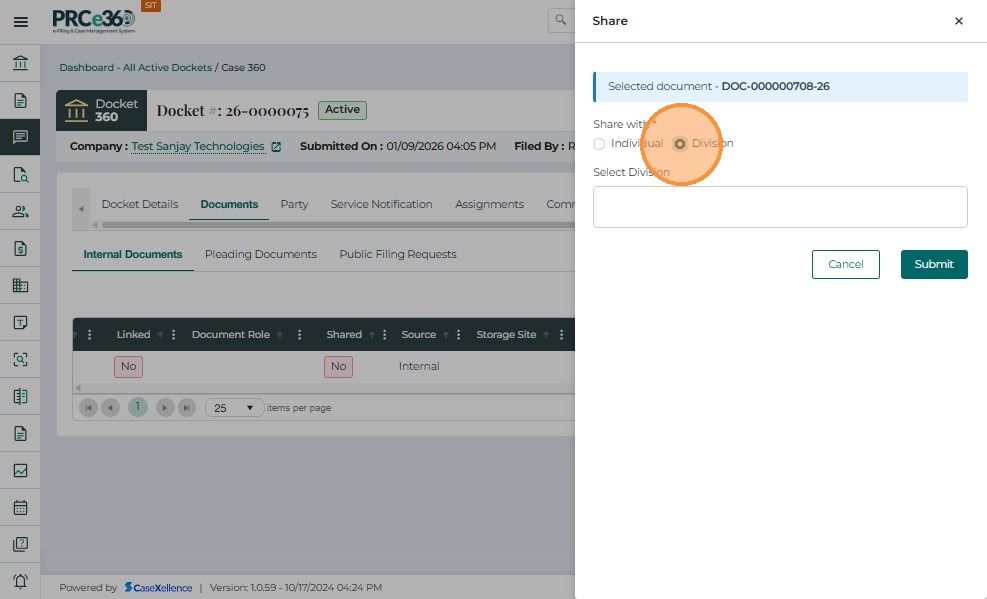
- Click on Select Division field.
- Choose the required division (e.g., Chief of Staff Division) from the dropdown list.
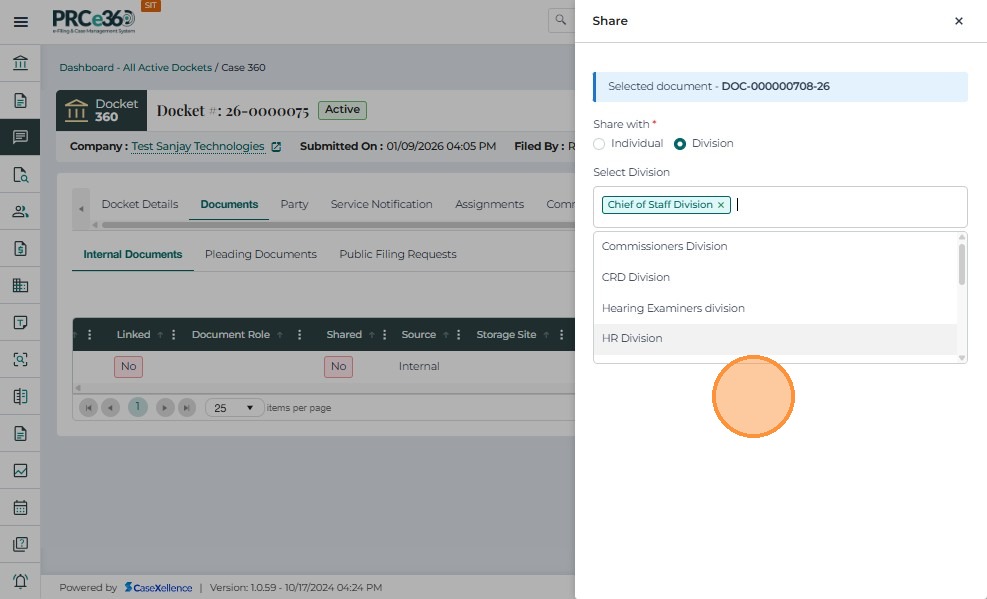
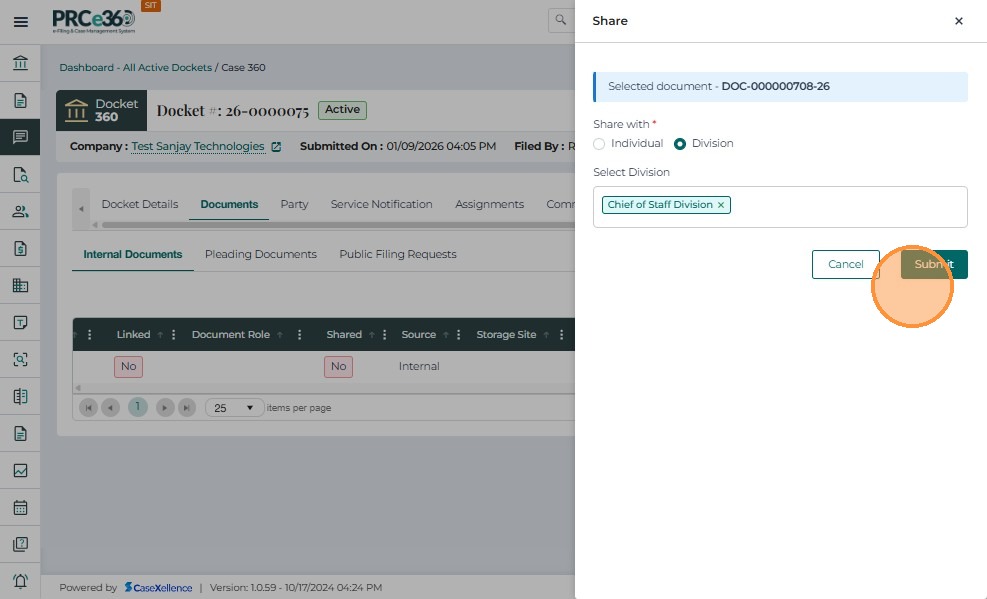
- Verify the selected division appears in the field.
- Click Submit to share the document.
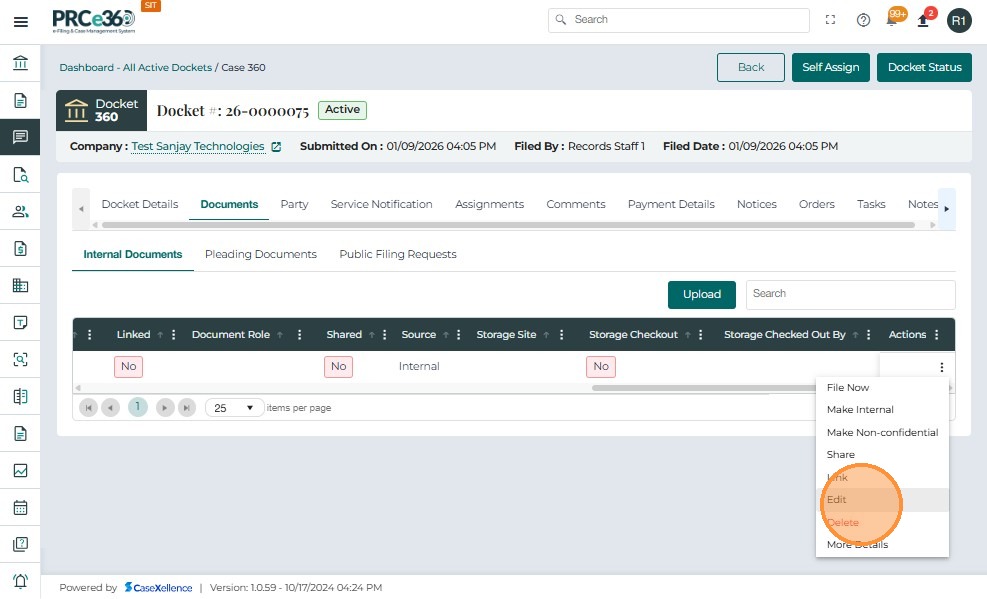
The Edit option allows authorized internal users to update the metadata of an uploaded internal document, such as the document title, document type, storage site, or description. This feature ensures that documents can be corrected or updated without needing to delete and re-upload them
- Click the Actions icon at the far right of the row.
- Click on Edit button.
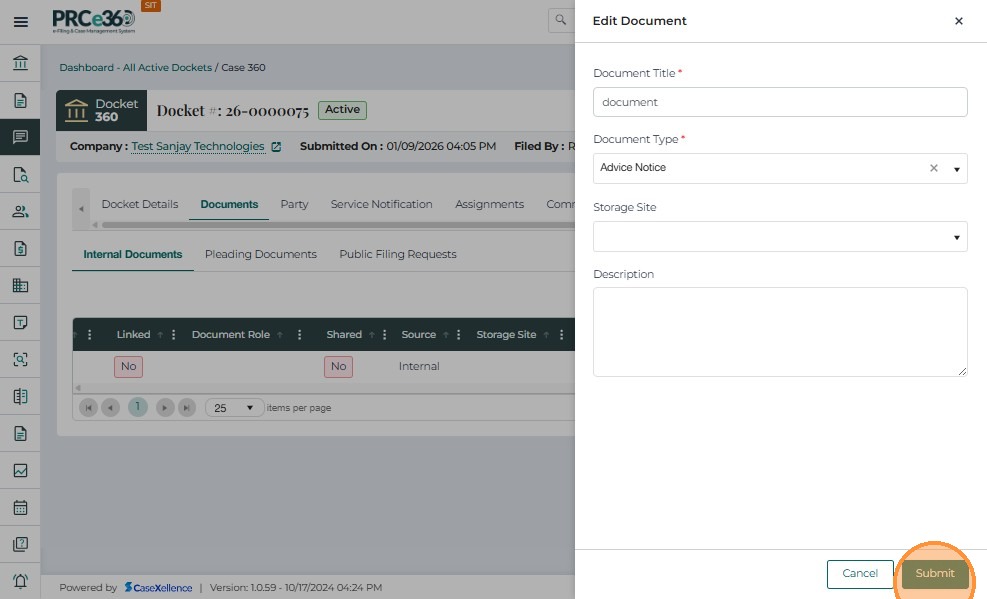
- This opens the Edit Document panel on the right side of the screen.
The panel displays the editable fields for the selected document:
-
Document Title* – Allows updating the display name/title of the document.
-
Document Type* – Update or correct the classification of the document using the dropdown list.
-
Storage Site – Modify the storage location, if required.
-
Description – Add or edit descriptive text explaining the document’s purpose or content.
-
Users may modify one or multiple fields as needed.
-
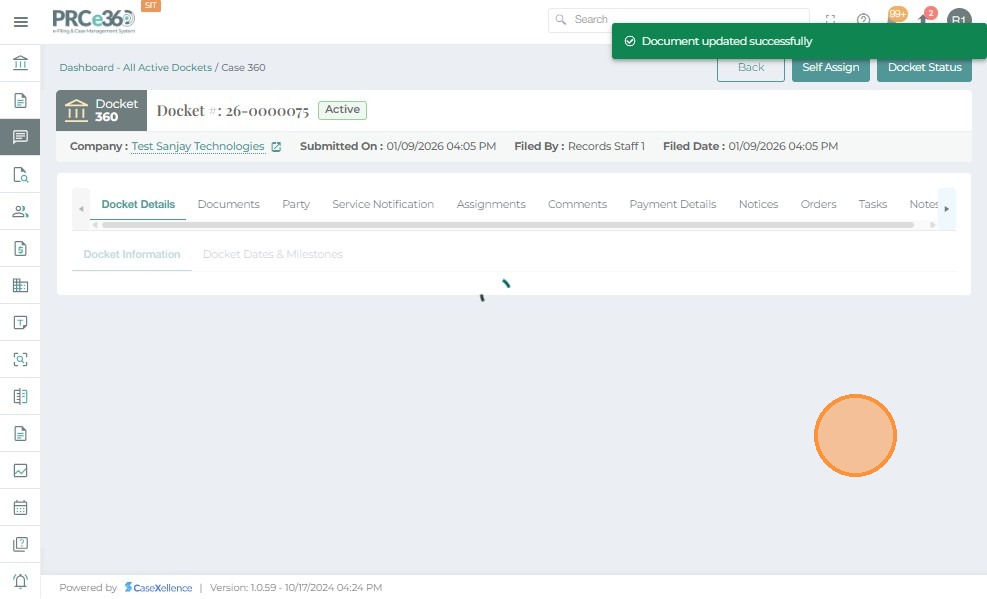
After making updates: Click Submit to save the changes.
-
The system will confirm the update with a message:“Document updated successfully.”
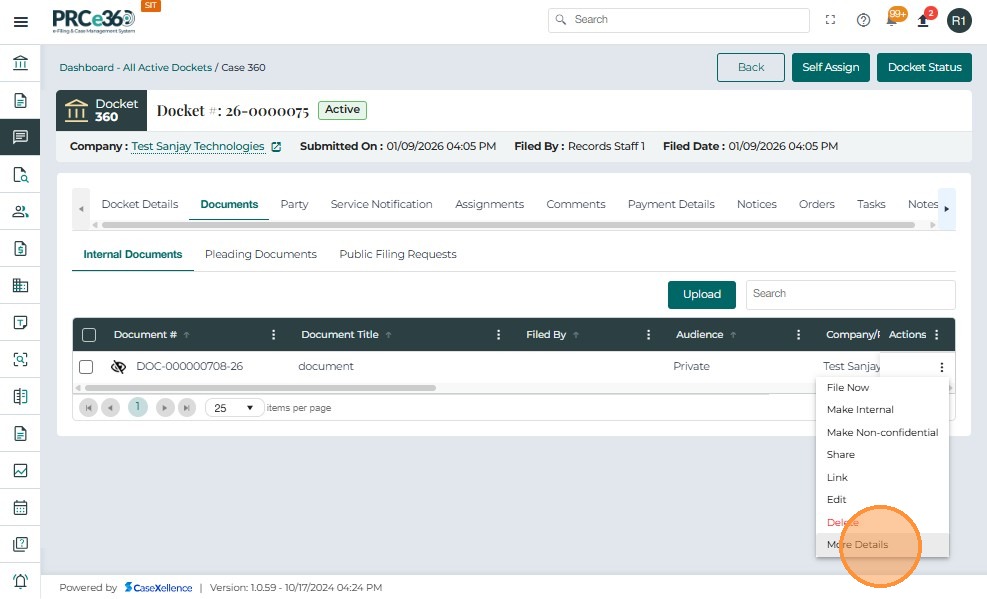
- Users can view complete information about any document by using the More Details option under the **Actions ** menu.
- Select More Details.
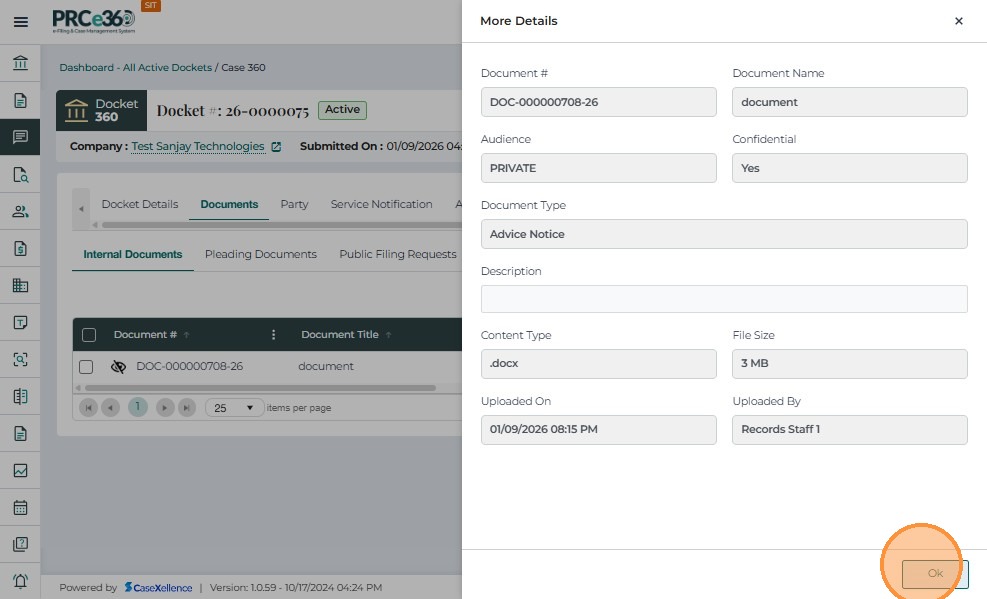
The More Details panel provides a quick summary, including:
- Document ID and Title – Displays the unique system-generated document number and its assigned title.
- Audience Type – Indicates whether the document is marked as Private, Internal, or Public based on its access level.
- Confidentiality Status – Shows whether the document is flagged as confidential.
- Document Type and Description – Identifies the category of the document and provides any additional descriptive details.
- Content Type – Specifies the file format, such as .pdf, .docx, or other supported types.
- File Size and Uploaded By – Displays the document’s file size along with the name of the user who uploaded it.
- Date of Upload – Indicates the exact date and time the document was uploaded to the system.
Once reviewed, click Done to return to the document list.
- Users can delete a document if it is no longer required.
- From the **Actions ** menu beside the document, click Delete.
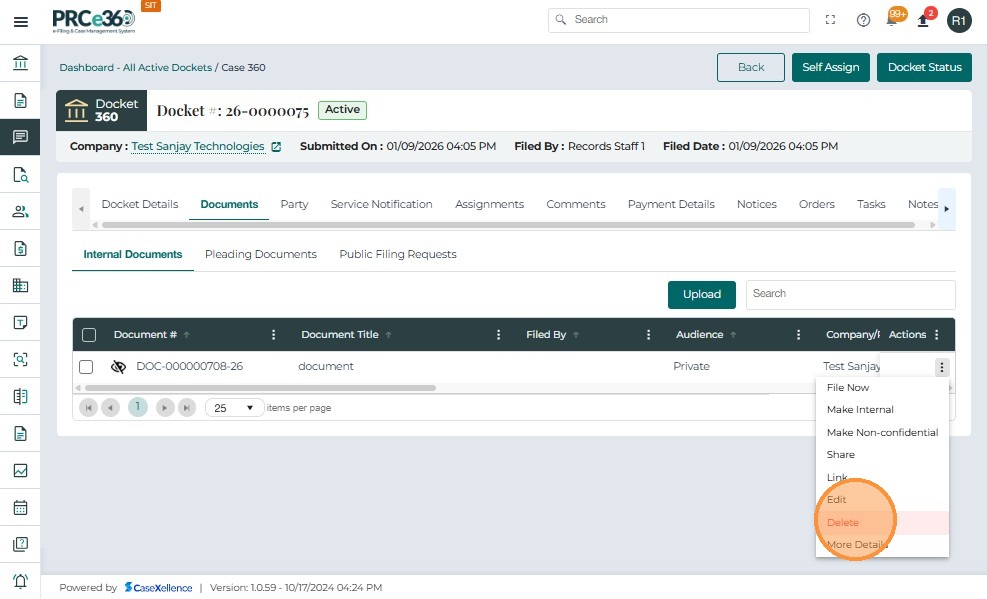
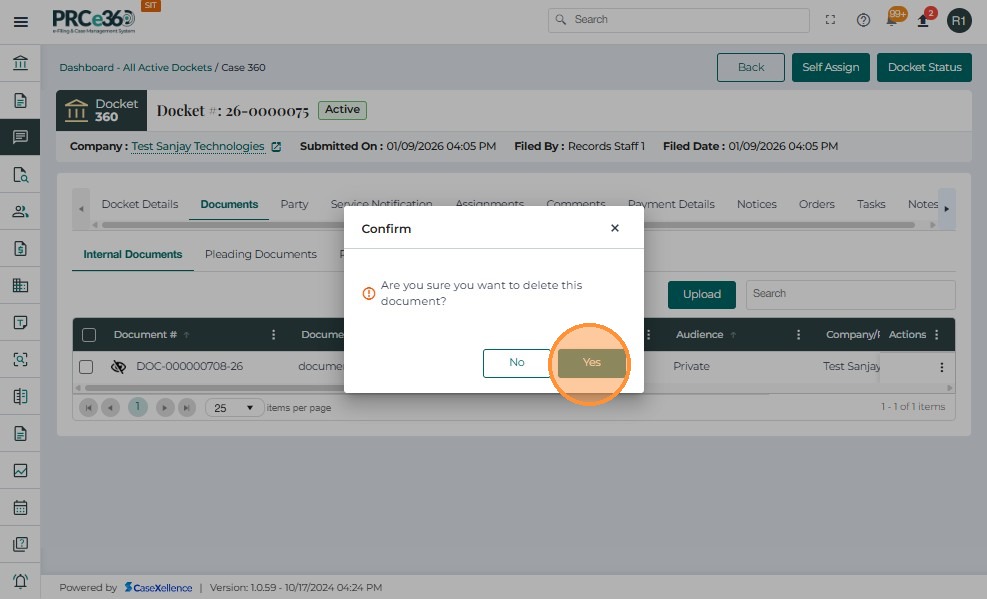
- A confirmation pop-up will appear asking if you are sure about deleting the selected document.
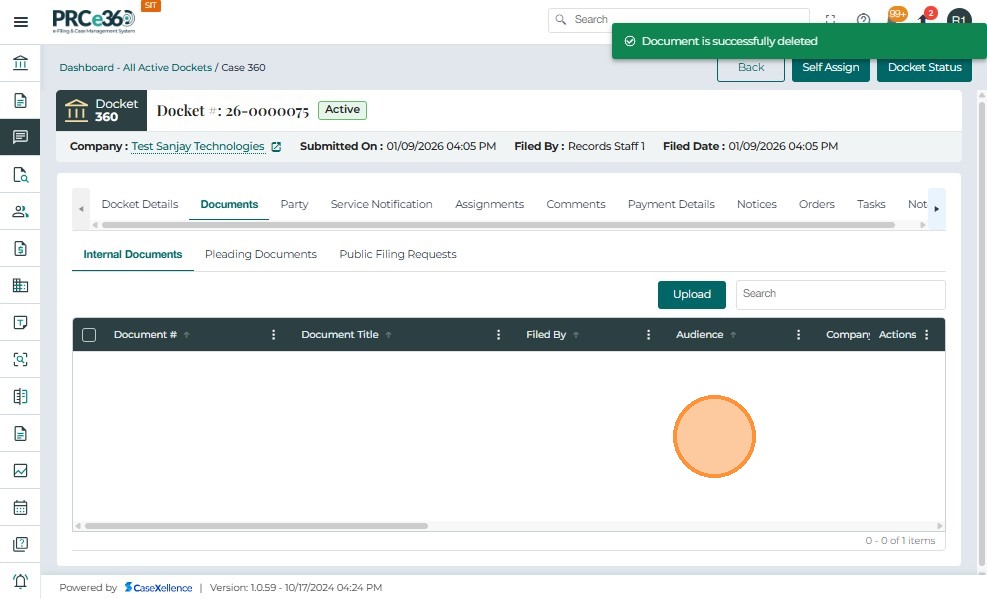
- Click Yes to confirm.
- The document will be permanently deleted from the system.
- If the parent document of a linked group is deleted, the entire link association becomes invalid, and all child documents will lose their linkage.
- Once deleted, the document cannot be recovered, and it will no longer appear in the Case Documents or Pleadings tabs.
- Only users with appropriate permissions (e.g., Records Staff, Records Supervisor) can perform document deletions.